


The FB Girls Radio Club
IC-705 and LC-192 Review by FB Girls
Thanks to Icom Inc., the FB Girls Radio Club received the IC-705 and the LC-192 backpack a little bit early. Now we are going to make a review by actually using them on a mountain! For those who are still waiting to receive yours, please read our article and enjoy our report.
First of all, we had to apply for an amendment to our JL3ZGL station license. On June 1st, 2020, the Kansai Bureau of Telecommunications added the IC-705 to our license. We’re good to go!
Heading for Mt. Yamato Katsuragi’s summit
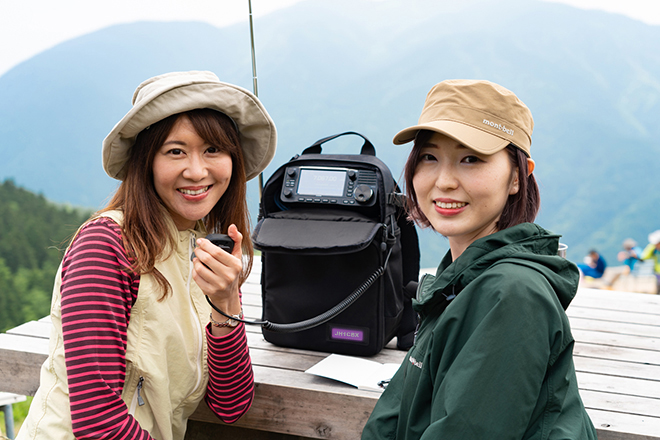
JH1CBX Masaco, who is a Japanese popular singer-songwriter and also a YL ham, and JP3JZK Erii put their IC-705s into the LC-192 backpacks, which is specially designed for the IC-705, and departed for Mt. Yamato Katsuragi’s summit. The mountain is located just between Osaka and Nara, and the elevation is about 960 meters (3150 feet).
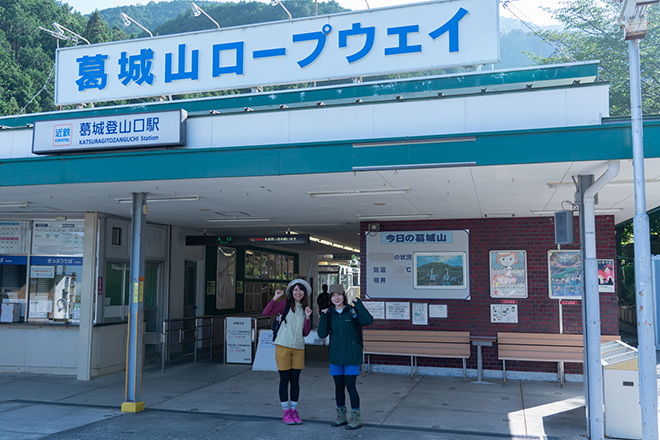
At the cable car station, they are motivated!

The weather was so nice! They enjoyed the beautiful view from the cable car.
This was the fourth time for Masaco to go to Mt. Yamato Katsuragi, while Erii visited there for the first time. Masaco taught her about the views. “Those are the ‘Three Mountains of Yamato’...from the left, Mt. Amanokagu, Mt. Unebi, and Mt. Miminashi. Some ancient Japanese poetry feature these three mountains.”
In six minutes, they reached the mountain top station. From there they had to walk another fifteen or twenty minutes to get to the summit.
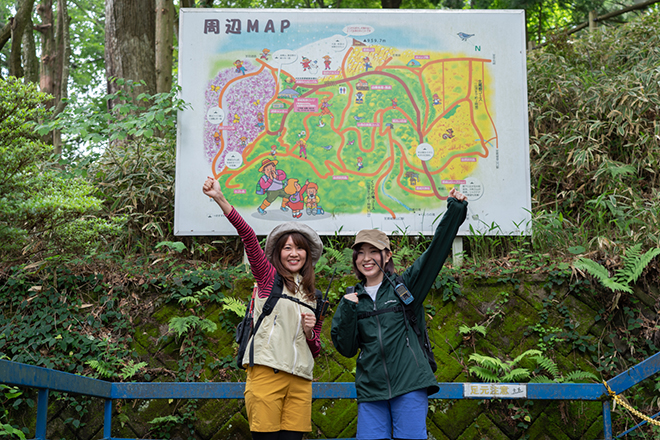
Here we go!!
The trail was rather gentle so it was not that hard for Masaco since she loves doing exercise. Meanwhile, for Erii, who is not an outdoor person, it was a long and hard way.
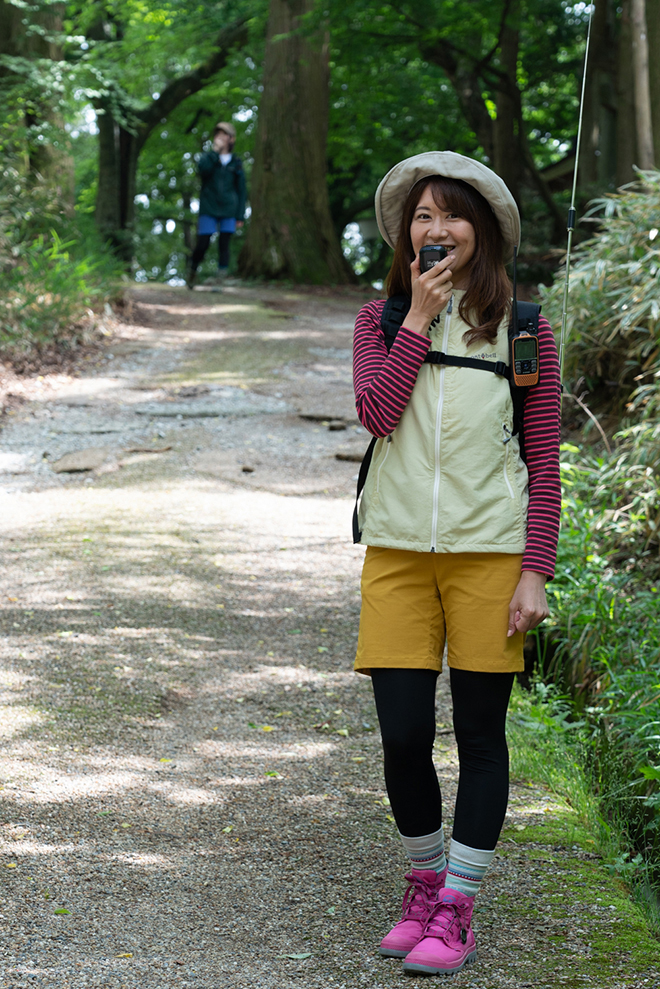
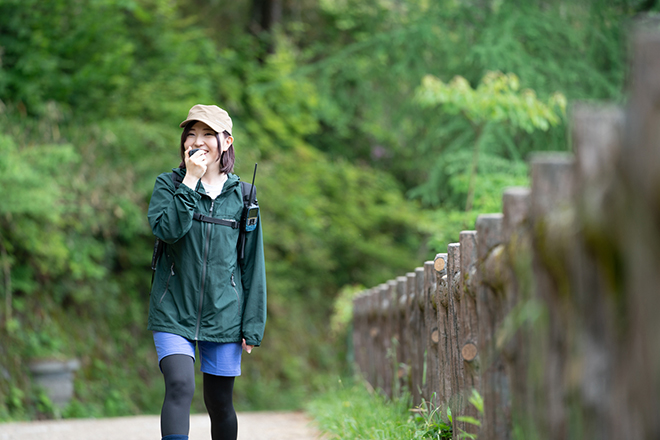
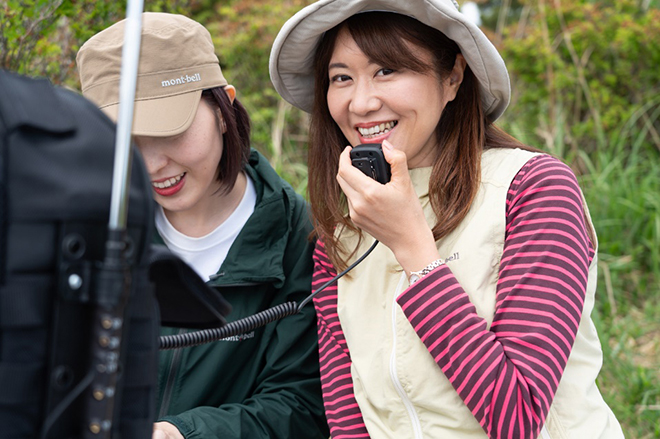
Enjoying talking with the IC-705s in their backpacks, even though they also had handheld transceivers.
Masaco was always a little ahead of Erii. She periodically pushed the PTT key and asked “Hey, Erii! Are you alright?” Amateur radio is a great means of communication on the mountain, isn’t it?
“Erii! Come quick and see this beautiful green!”
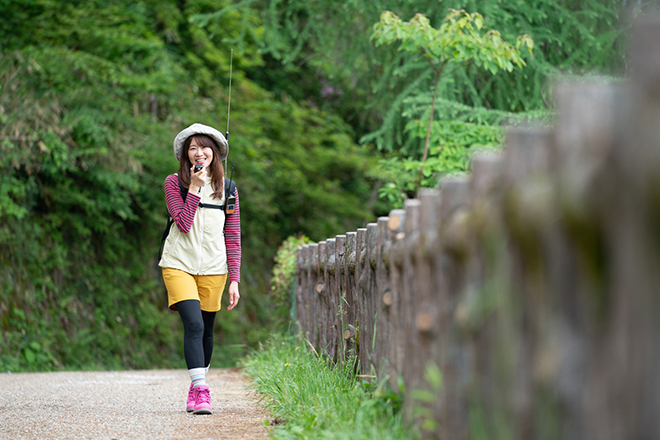
The LC-192s enabled them to be on the air while walking. They could easily install an antenna for VHF and UHF using a BNC-L type connector through an antenna hole in the backpack.
“Masaco...where are you now? You are so far ahead!”
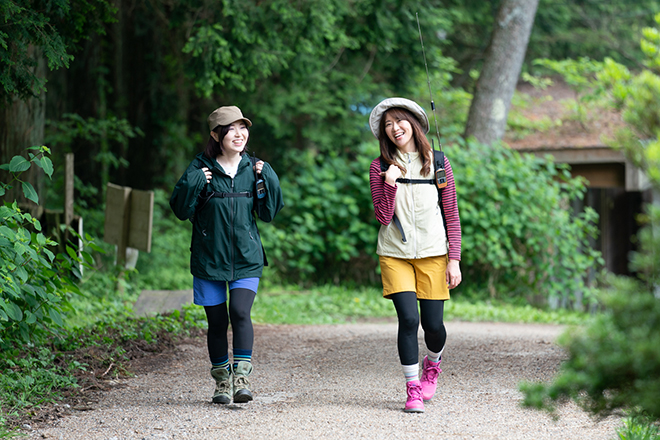
Now Erii catches up with Masaco and they enjoy chatting.
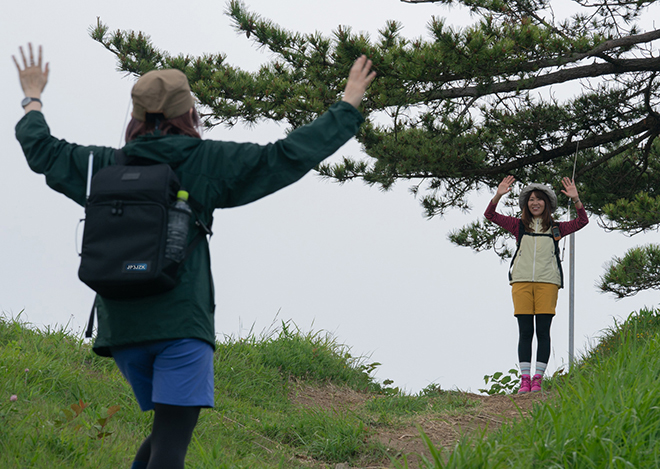
“Erii! You are almost there! Come on!”
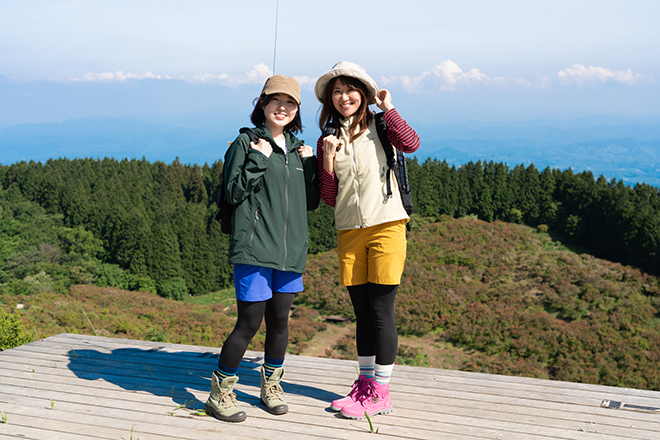
They finally came to the end of the trail, which was about 1 kilometer (0.62 miles) long and reached the summit!
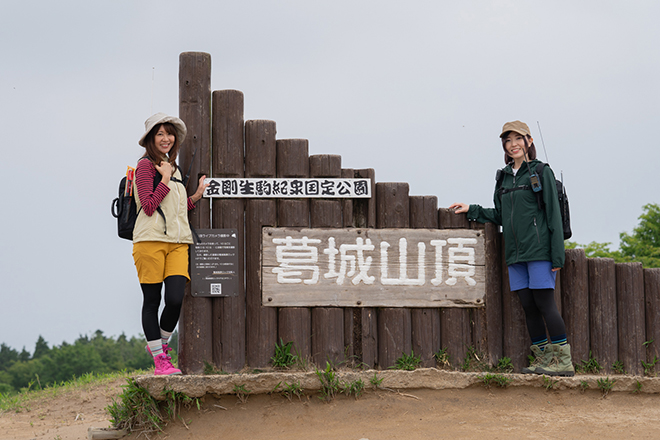
There is a web camera at the summit that automatically takes a picture every ten minutes.
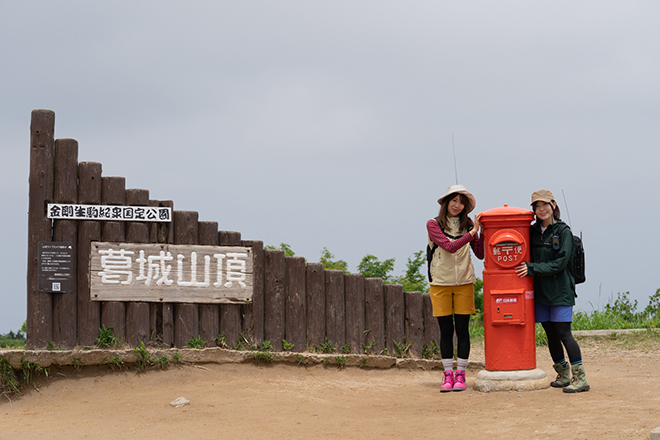
Also, there is a post box, and you can get a special post mark.
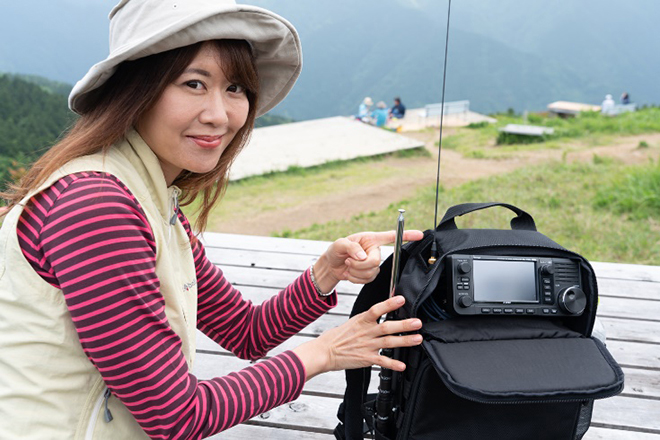
After taking some souvenir photos, they went down the mountain a little and prepared to operate. Before that, Masaco explained how she was using her IC-705 in the LC-192 backpack.
Putting the IC-705 into the LC-192
The LC-192 has a short belt and a screw to firmly fix the IC-705 to prevent the radio from accidentally falling out.
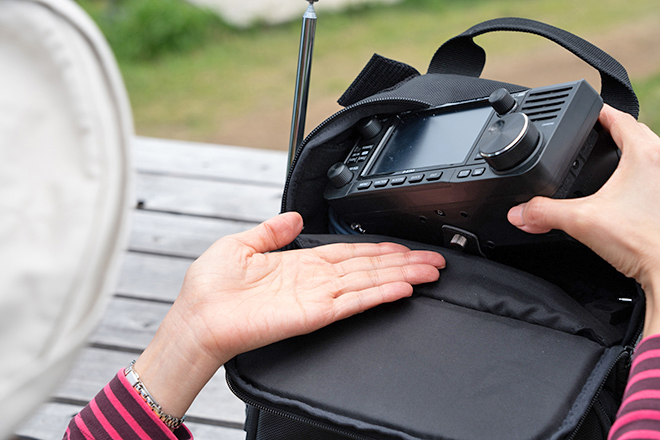
A belt and a screw
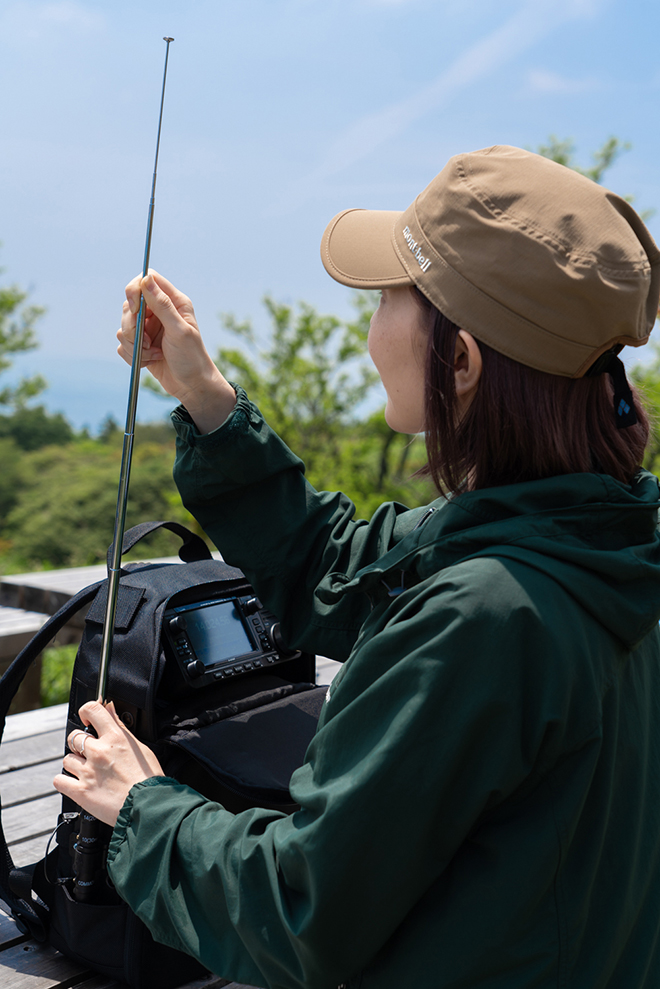
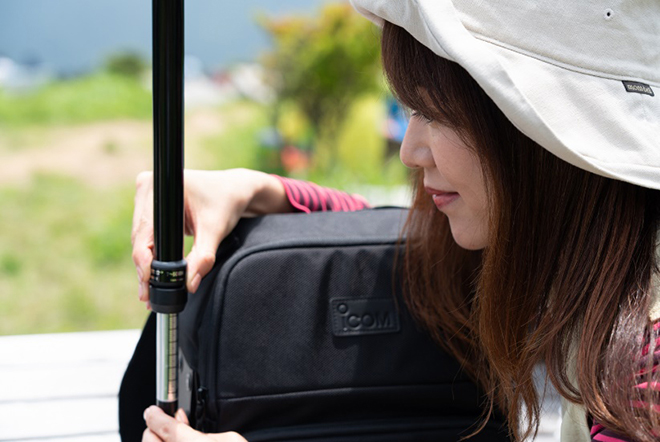
Installing an VHF/UHF whip antenna
First, she attached a BNC-L type connector (user supplied) to the radio’s antenna connector.
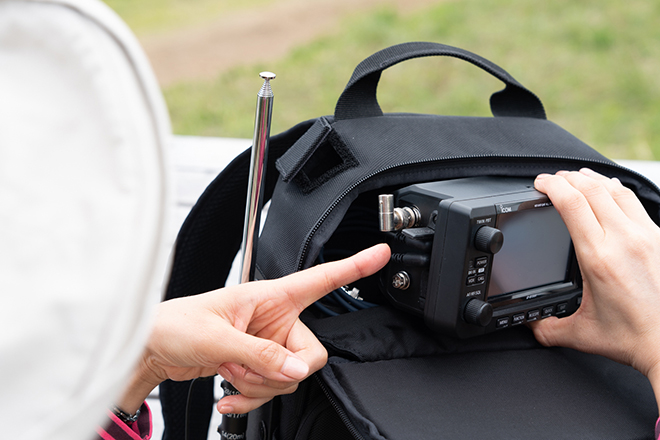
Attached BNC-L type connector
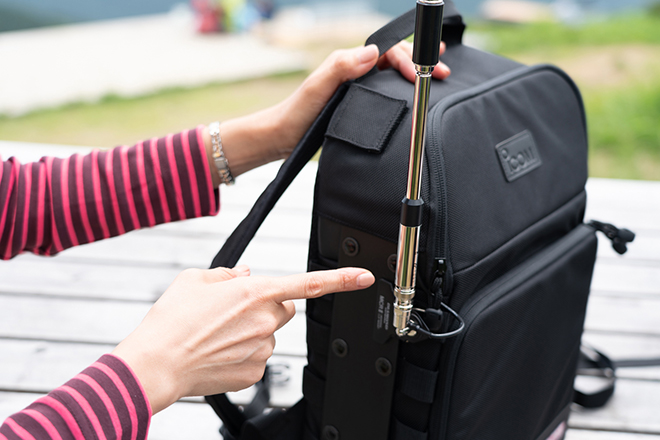
She then inserted an antenna through the antenna hole in the LC-192 and connected it to the BNC-L type connector.
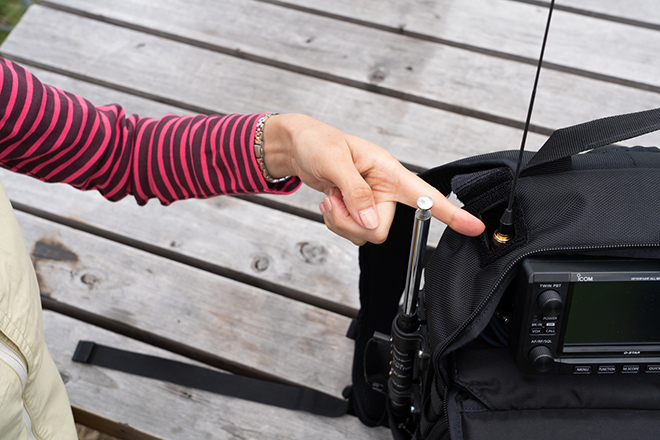
Through the antenna hole
Now the installation is done! If you used an antenna for handhelds, you are all set to get on the air. Masaco monitored the 430 MHz band at the top of the mountain, and got a big surprise. She had never even imagined that the band was so crowded, unlike operating at a lower elevation.
Just installing a connector and a handheld antenna and she could immediately start operating on the VHF and UHF bands!
An example of installing a whip antenna for the HF bands
There are several ways to install an HF antenna. This time, Masaco introduces two ways of attaching a whip antenna for the HF bands.
1. COMET HFJ-350M
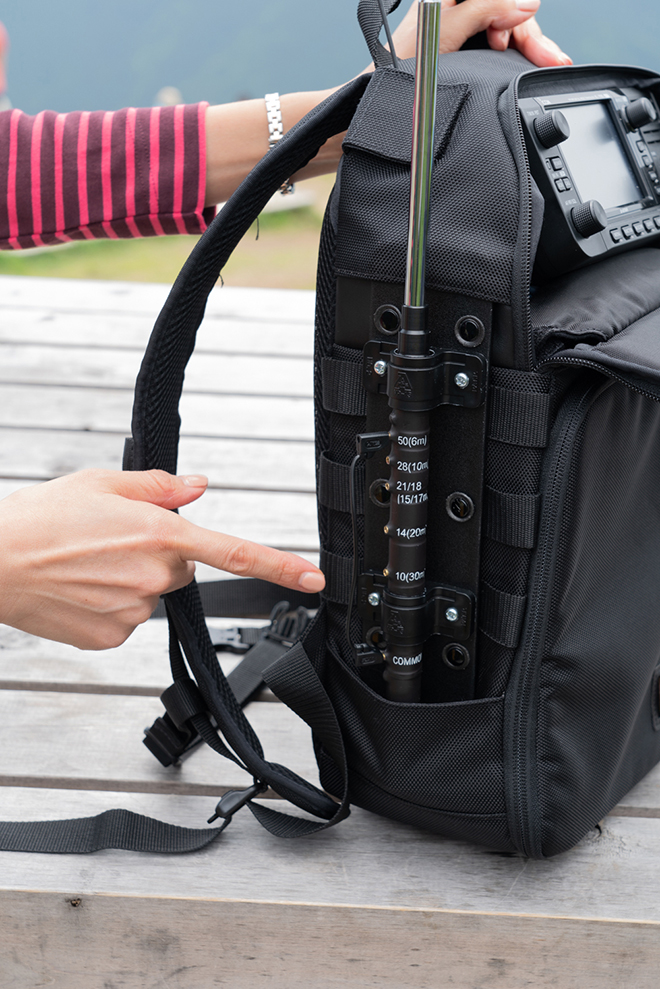
Using the LC-192’s side plate, firmly attach the coil part of the HFJ-350M to the backpack with a nylon saddle clip (user supplied). You adjust the antenna length of the upper rod part of the antenna. The jumper wires have to face the front.
Adjusting the antenna length.
2. DIAMOND RHM8B
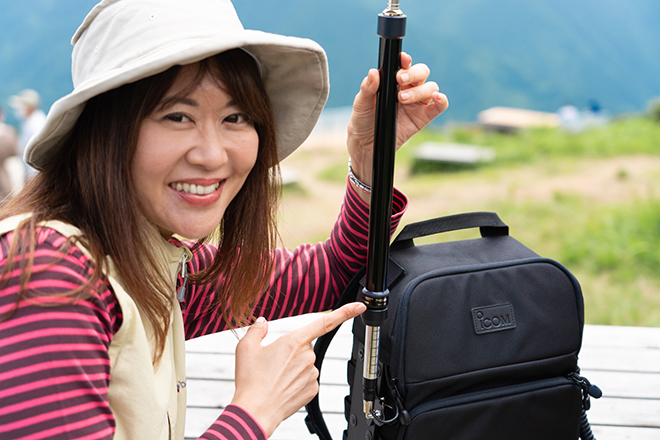
On the other hand, if you use a RHM8B, you have to adjust the length of the bottom part of the antenna, and you cannot use the saddle clip. Use the MCRⅡmounting clip base to firmly attach the RHM8B to the backpack’s side plate.
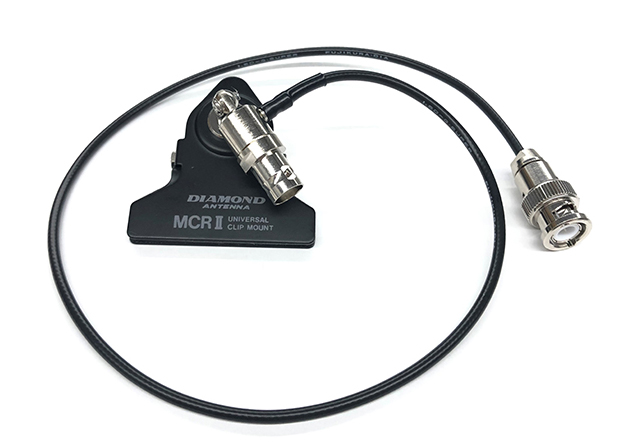
MCRⅡ
Adjusting the movable coil part of the antenna.
If you want to operate with these kinds of antennas, you have to connect a counterpoise to the antenna base. Operating on the HF band while walking is rather difficult, we think.
The MCRⅡ enables attaching a VHF and UHF antenna as well.
Attaching a RH770 using the MCRⅡ.
Let’s get on the air!
First Masaco started to operate on 7 MHz where you can usually see many JA hams operate. It was not just because the weather was great, but also because the propagation was really good, she could receive many signals from stations all over Japan. The band was crowded so it was the perfect time to use the IC-705’s real-time spectrum scope to find a clear frequency. Like using a base station at your ham shack, you can visually check the band condition, which is different from conventional hiking field operations.
“CQ CQ CQ. This is JL3ZGL/3, JL3ZGL/3. Our QTH is Mt. Yamato Katsuragi in Nara prefecture. Go ahead!”
Masaco was able to find a clear frequency using the spectrum scope, and called CQ. However, there was no answer despite calling CQ several times. This is what the QRP really is...in the SSB mode with 5 W output on the 7 MHz band. She tried and tried many times and finally received a call from a ham in the Kyushu area! She was so impressed! She sent a 59 and received a 57...not too bad.
Right after the QSO with the station in Kyushu, she called QRZ...but again, there was no answer. Though the propagation was great, QRP operation was very different from the usual JL3ZGL field operation with a full-sized dipole antenna putting out 50 W.
Masaco again called CQ, and could receive a call from a ham in the Kansai area. During the operation, their club call sign was posted on the Japanese cluster website, which helped a lot. Eventually, thirteen QSOs are logged! Masaco was very happy when she succeeded in contacting with another 5 W station in the Kansai area.

Erii called CQ on the 14 MHz band in the CW mode...but sadly no answer was received.
They managed to get through their first QRP operation!
Showing Masaco’s LC-192 backpack
Finally, Masaco is showing the inside of the backpack.
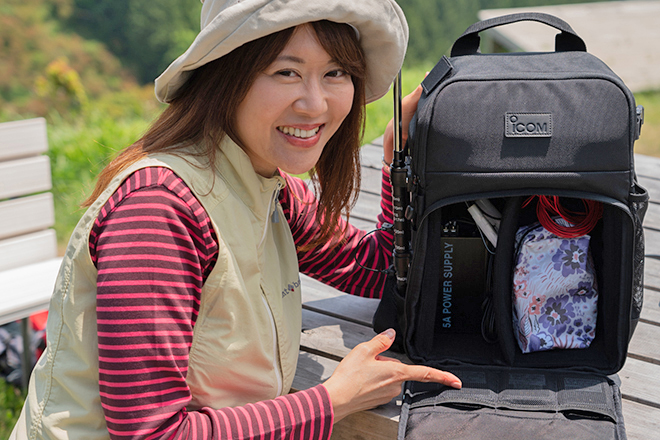
In the left compartment, she put a DIAMOND DSP500 power supply. She told us that she is going to use the power supply when she returns back to the place where she is staying that has an AC outlet. There she will operate with a 10-watt output or charge the IC-705’s battery.
In the right compartment, she put 20 meters of 0.5 square vinyl wire for radials, and her makeup bag!
In the accessory pockets, she put three spare batteries, preparing to operate for a long-time.
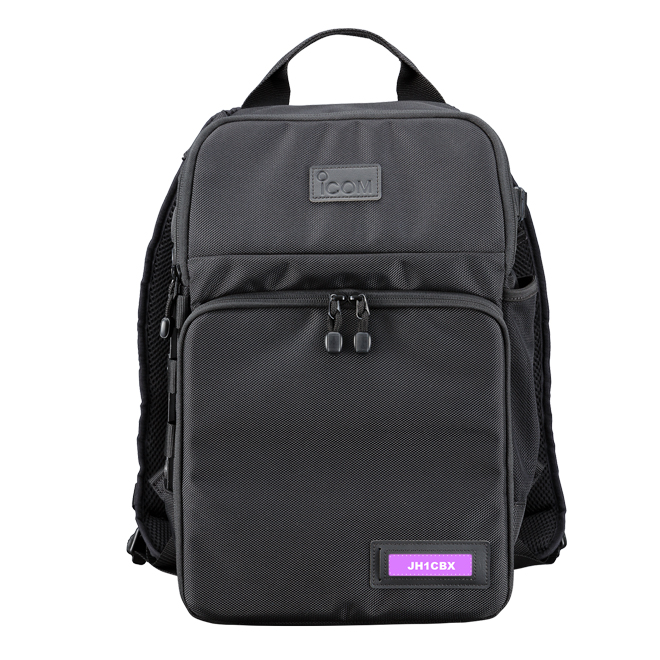
There is a name plate holder in the LC-192. Masaco downloaded the name plate templates from the Icom website, printed it out, and created her original plate! On the Icom website, there are twelve kinds of templates and you can pick your favorite one.
Name plate templates on the Icom website:
https://www.icomjapan.com/lineup/options/LC-192/#nameplate

There are twelve kinds of templates.
Hams tend to put our call sign on everything...don’t we?
Hams tend to put our call sign on everything...don’t we?
Their first 5-watt SSB operation was rather tough, but still their signal could reach quite far from the summit! Masaco and Erii said, “It was a great experience. We should try operating QRP with the IC-705 again soon!”